
How to Prepare and Upload Your eCommerce Banner Image
Overview
This article covers how to prepare and upload a banner image for your BakeSmart eCommerce store, including size requirements, content placement, file format, and how to add an optional banner link.
Banner images are created outside of BakeSmart using whichever design or marketing tool you use -- such as Canva or an AI image tool -- then uploaded directly into your eCommerce settings.
Preparing Your Banner Image
Recommended size and aspect ratio
The recommended banner size is 2000 × 667 pixels, following a 3:1 ratio -- three times as wide as it is tall.
Other sizes that follow the same ratio:
Width | Height |
1500 px | 500 px |
1800 px | 600 px |
2400 px | 800 px |
Any image that follows the 3:1 shape works.
Where to place your content
The banner adjusts to fit different screen sizes:
- On phones, the sides of the image are trimmed slightly
- On extra-wide desktop monitors, the top and bottom of the image are trimmed slightly
- The center is always visible
Keep your most important content -- logo, text, main subject -- near the center of the image. Leave roughly 15% margin on all sides for anything you don't want cropped.
File format and size
- Use JPEG for photos
- Use PNG if your image contains text, a logo, or sharp edges
- Target file size: under 500KB. Most design tools include an "Export for Web" option that handles this automatically.
If You Are Using the Home Page Message Feature
The Home Page Message field adds optional text that appears on top of the banner.
- On tablets and desktops, the message sits at the bottom-center of the banner
- On phones, the message appears below the banner -- the full banner image stays visible
If you plan to use this feature, avoid placing important content along the bottom-center of your banner image.
Uploading Your Banner
- Navigate to Settings > eCommerce > General
- Scroll to the bottom of the page
- Add, drag, or upload your banner image in the Home Page Banner Image section
Adding a Banner Link (Optional)
You can link your banner to a specific product or category in your eCommerce store.
- Navigate to the product or category in your eCommerce store
- Copy the URL from your browser
- Paste it into the Banner Link URL field on the General settings page
Previewing Your Banner
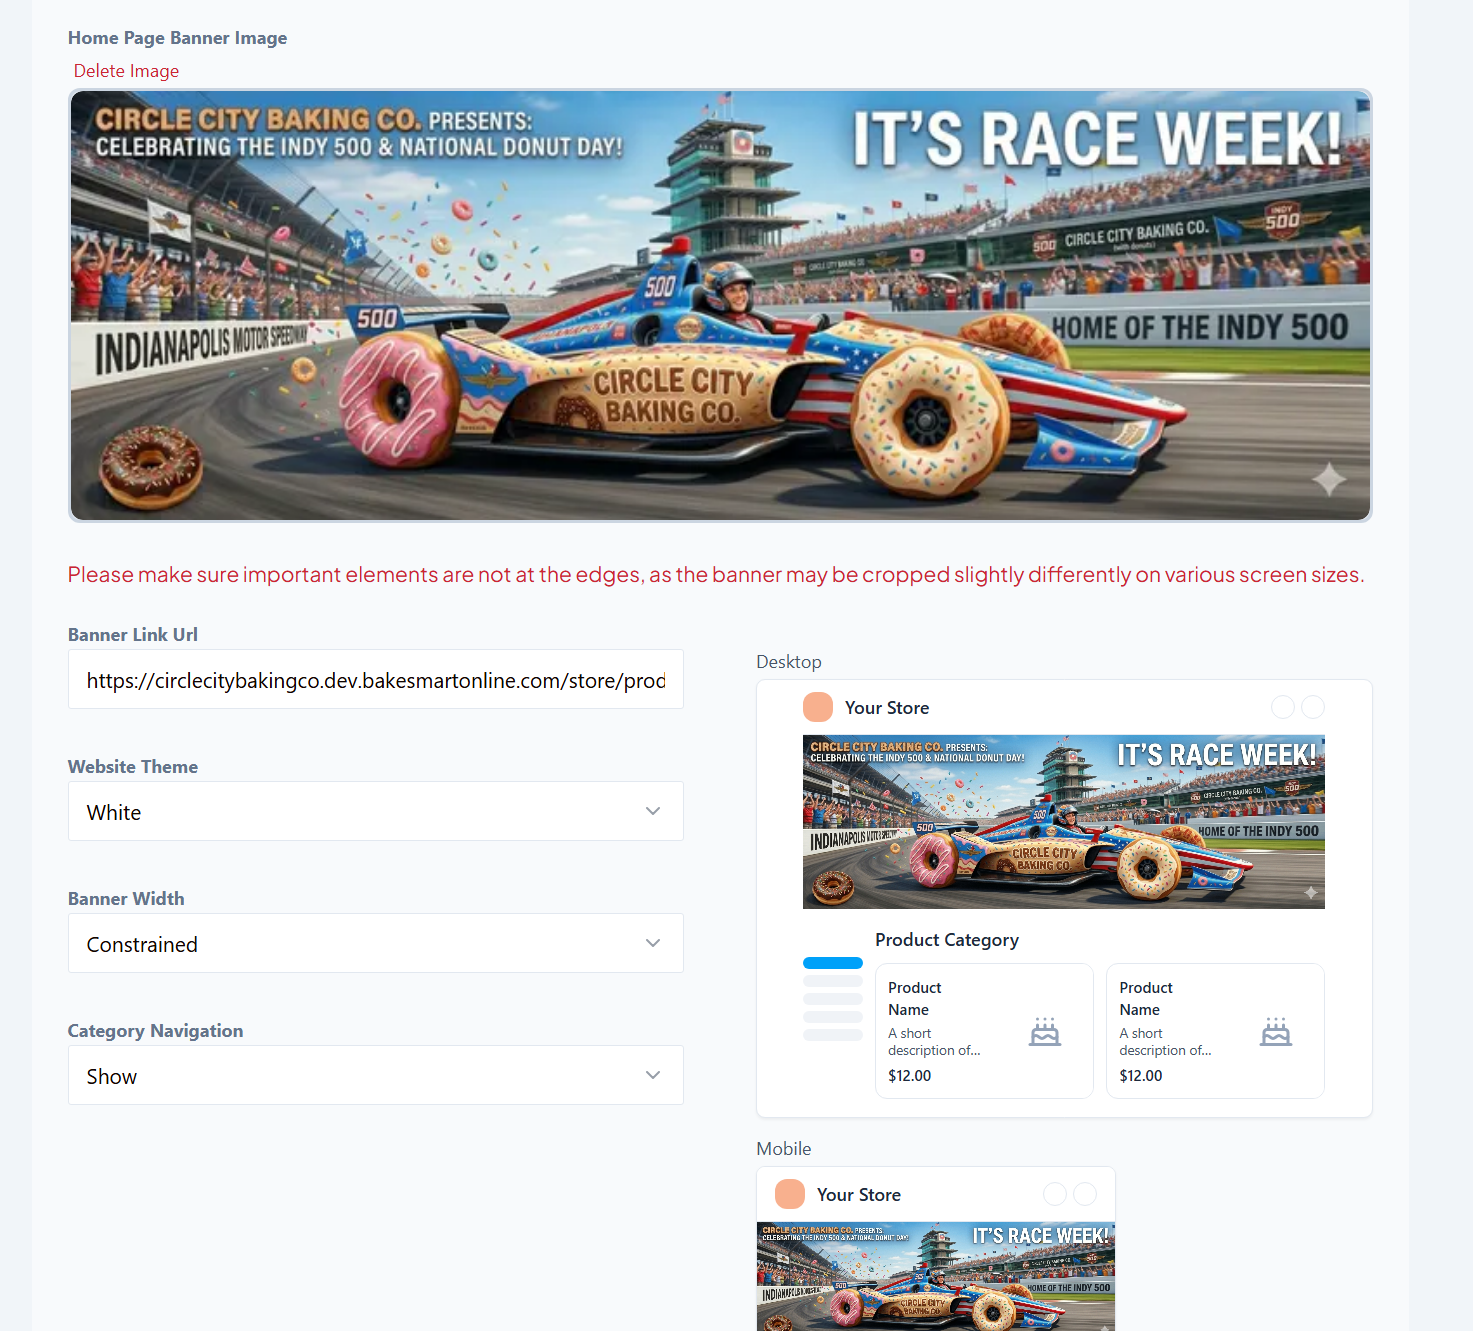
The Home Page Banner Image section includes a preview where you can upload your banner and select your colors. It is not a perfect rendering, but it gives a reliable sense of what the banner will look like on your eCommerce page.
Looking for More?
For more information on setting up your eCommerce store, visit our Help Desk for How-To and Understanding articles covering eCommerce, Customer Accounts, Same-Day eCommerce, and more.
